20 Clothing Hacks You Wish You Knew Sooner (Your Closet Will Thank You!)
Mornings feel chaotic when I stand before a crowded closet.
I grab the same outfits and still feel stuck.
That setup nagged at me long enough to do something about it.
I made this to help you save time, cut waste, and feel confident.
Here, I pulled together 20 Clothing Hacks You Wish You Knew Sooner (Your Closet Will Thank You!) for your closet.
Your space will start to feel calmer.
I made this to help you beat outfit indecision.
If your mornings feel rushed and you want simple, stylish options, this is for you.
If you hope to save money by wearing more of what you own, this will help.
These hacks are practical, affordable, and easy to try.
You will get 20 practical hacks.
They cover organization, care, layering, and quick fixes.
Each tip comes with a simple step you can do today.
Think of it as a toolkit for real life.
Some hacks help you fold, store, and pack smarter.
Start by picking one or two hacks.
Try them for a week and notice what changes.
Keep a tiny notebook or photo journal to track your before and after.
Adjust what works and drop what doesn’t.
These ideas fit many closets.
They rely on common fabrics like cotton, denim, and knits.
They are easy to adapt to current trends while staying true to your style.
No fancy gear needed.
If you try these, you will feel lighter in your wardrobe.
Tell me which hacks work best for you and I will cheer you on.
Let you feel more confident every day.
Contents
- 1. The Perfect Tuck Method
- 2. Turn a Scarf into a Top
- 3. De-Wrinkle with Ice Cubes
- 4. The Bra Clip Trick
- 5. Utilize a Hair Tie for Buttoned Shirts
- 6. Reinvent Old Tees into Fashionable Crop Tops
- 7. Use Fashion Tape for Instant Fixes
- 8. Transform Old Jeans into Cut-offs
- 9. Create Your Own Distressed Denim
- 10. Layering for Added Style
- 11. Organize Your Closet by Color
- 12. Layering with a Long Cardigan
- 13. The Switchable Belt
- 14. Refresh Shoes with DIY Techniques
- 15. Repurpose a Button-Down Shirt
- 16. Use a Wide-Tooth Comb to Unclog Zippers
- 17. The Power of Accessories
- 18. Upcycle Old Accessories into New Pieces
- 19. Create a Capsule Wardrobe
- 20. DIY Your Own Jewelry Organizer
1. The Perfect Tuck Method
You want outfits that look pulled together with little effort. A good tuck makes that happen.
– What you need
A soft tee or blouse, a belt if you want a defined waist, and a mirror.
– Front tuck for casual chic
Tuck only the front into your waistband. Let the back stay loose. This creates a relaxed, smart look. Here is why: it draws the eye to your waist and keeps extra fabric out of your way.
– Full tuck for a clean silhouette
Tuck the whole shirt into your pants or skirt. Smooth the fabric so it sits flat. A thin belt helps define the waist.
– Side tuck for shape
Tuck a small section at one side and lightly ease the rest in. This adds edge and a slim line without stiffness.
– Quick tips that help
Pick a top that fits a bit loose around the torso. Try all styles to see what flatters you. Finish with a belt to pull the look together.
– Practice makes it second nature
Stand in front of a mirror, test each tuck, move around, adjust. Next steps: choose one style to practice this week.
1. The Perfect Tuck Method
Editor’s Choice

4 Pieces No Buckle Stretch Belt for Women Men Adjustable Unisex Invisibl…

Men’s Beefy-t T-Shirt, Heavyweight Cotton Tee, 1 Or 2 Pack, Big & Tall

Sweetcrispy 64″x21″ Arched Full Length Mirror, Standing or Leaning Full …
2. Turn a Scarf into a Top

Turn a Scarf into a Top
Looking for a chic top you can make in minutes? A square scarf is the answer. It sits light in your bag and lasts all day. It works with cotton, silk, or blends. It helps you stay cool when the sun climbs high. Try a silk scarf for a dressy turn or a cotton one for daily wear.
Here is how to do it:
– Step 1. Fold the scarf in half diagonally to form a triangle.
– Step 2. Drape the long edge around your back, bring the ends to the front, and tie a knot at the chest.
– Step 3. Adjust the fit. Leave it loose for a breezy, kimono-like vibe. Tie it tighter for a snug top.
Style ideas
– Mix patterns and colors to match your mood and outfit.
– Pair the top with high-waisted jeans or a skirt for a cute summer look.
– Layer under a light jacket or cardigan for extra flair.
Practical notes
– This hack travels well. It folds flat and adds almost no bulk to your bag.
– Choose a scarf length that sits around your bust for the best fit.
– Silk looks dressy, cotton is comfy, and blends are versatile.
Next steps
– Try this today. Pick a scarf you love, test a few wraps, and snap a quick mirror pic to see what works.
2. Turn a Scarf into a Top
Editor’s Choice

RIIQIICHY Head Scarf for Women Like Silk Scarf Hair Scarf Printed Square…

Women’s Cotton Scarves Lady Light Soft Fashion Solid Scarf Wrap Shawl

Women’s Lightweight V-Neck Cardigan Sweater (Available in Plus Size)
3. De-Wrinkle with Ice Cubes
Tired of chasing an iron on busy mornings? You can skip the iron and still leave the house looking sharp. The ice cube trick uses steam to relax fabric fibers as your clothes dry.
Here is why it works: when the ice melts, it creates steam inside the dryer. That steam gently releases wrinkles without heavy heat. You get smooth clothes without pulling at the iron.
– What you need 2 to 4 ice cubes and a dryer with a low heat setting.
– Start the cycle Put the wrinkled items in the dryer with the ice cubes. Set to low heat and run about 10 to 15 minutes.
– Finish fast When the cycle ends, pull the clothes out right away and fold. This helps stop new wrinkles from forming.
– Extra scent For more freshness, add a dryer sheet or a tiny splash of fabric softener on the sheet you use.
This trick works best on light to medium fabrics like cotton blends, knit tops, and synthetic fibers. It may not fully smooth heavy denim or thick wool. If in doubt, test on a small corner first.
Next steps: try this on a quick office tee or a favorite dress. With practice, you’ll save time and still look neat—no iron needed.
Skip the iron and embrace the ice cube! A little steam can smooth out wrinkles and keep your style sharp. Your closet will thank you for this quick clothing hack!
3. De-Wrinkle with Ice Cubes
Editor’s Choice

Bounce Dryer Sheets Laundry Fabric Softener, Outdoor Fresh Scent, 240 Count
4. The Bra Clip Trick

Strap slips ruin a perfect outfit. This quick fix helps a lot: the bra clip trick.
What it does
A bra clip gathers the back straps. It forms a racerback shape. This setup gives more support and stops straps from peeking out.
How to use
– Clip the back straps together behind your back at a height that matches your shoulder line.
– Adjust the clip so it sits where you like and it feels comfortable.
Tips for best results
– Choose a clip that matches your skin tone or outfit.
– Plastic clips are light and gentle on fabrics.
– Metal clips feel sturdy but can show under thin tops.
– Pick a size that fits your strap width.
– If you wear a racerback bra, a clip still helps keep everything in place.
Practical checks
– Move around a bit to test comfort and security.
– Reach, bend, and walk to see how well it stays put.
– If you feel tug on one shoulder, readjust the clip or the strap position for a smoother pull.
Limitations
– Not all bras work with clips.
– Thick or padded straps can slip.
– Thin fabrics may show a clip, so test before you wear, and choose a low-profile style.
Next steps
– Practice at home a few minutes before you go out, so you know it in your routine.
– With a little setup, you stay comfy and confident all day.
Say goodbye to slipping straps! With the bra clip trick, you can transform any outfit into a flawless look. Your closet will thank you for this quick, stylish hack!
4. The Bra Clip Trick
Editor’s Choice

Bra Strap Clips Holder, Bra Clips to Make Racerback, Bra Strap Holders f…

Fashion First Aid Clearly Gone Invisible Clear Bra Straps for Women – 3/…

Bra Strap Clips, Bra Clips to Make Racerback, Bra Strap Holders for Slip…
5. Utilize a Hair Tie for Buttoned Shirts
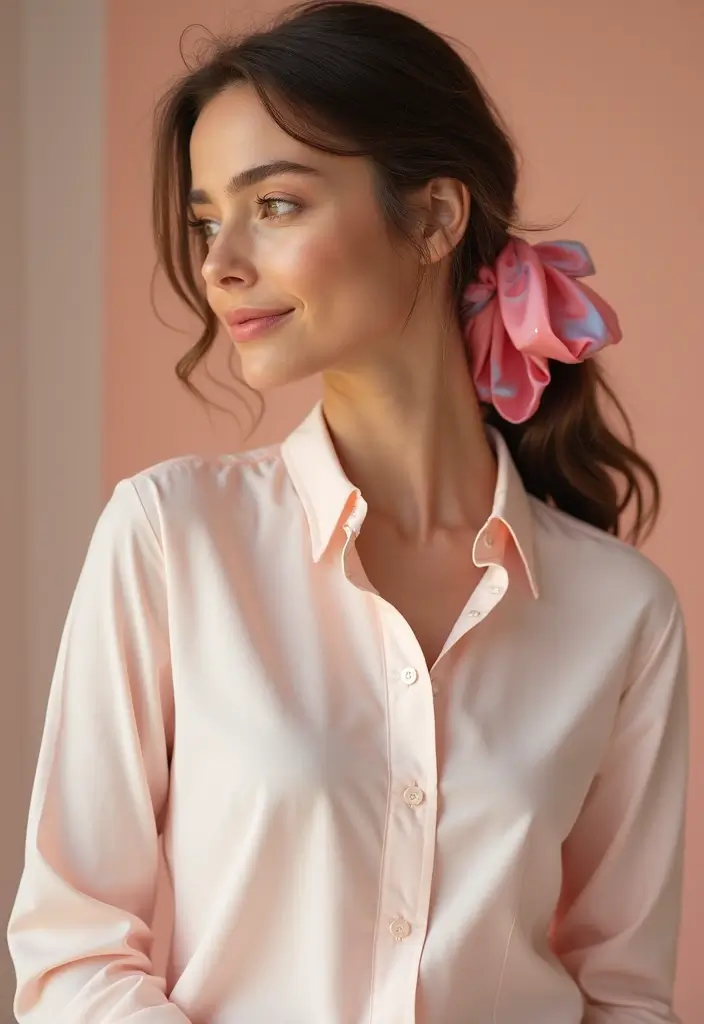
Buttons can pinch and poke when a shirt fits snug. You want relief without sewing or snagging buttons. Here is a simple hair tie hack that does the job.
How to do it:
– Thread a hair tie through the buttonhole.
– Loop the tie around the button.
– Slip the shirt on. The tie holds the gap open just enough while keeping things neat.
This trick gives you a little extra room without changing the shirt. It works best with light to medium fabrics and when you are moving through a day of activities.
Tip 1: Choose a hair tie that blends with your shirt color so it stays discreet.
Tip 2: Use this mainly for layers. It feels natural under a cardigan, blazer, or sweater.
Tip 3: You can get a ruched effect by not pulling the tie tight. Small gathers can look stylish and help with fit.
Limitations: If you tug hard, the button may pop or the tie may slip. This is a quick, temporary fix, not a replacement for a bigger size.
Next steps: Keep a matching hair tie in your desk drawer or purse. Try it on a blouse today and feel the difference. Small changes like this add comfort and confidence to your daily wear.
5. Utilize a Hair Tie for Buttoned Shirts
Editor’s Choice

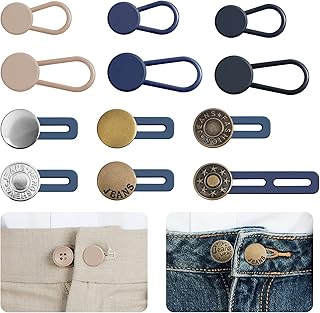
Ceryvop 12 PCS Button Extenders for Jeans, Pants – Waist Extenders for W…
6. Reinvent Old Tees into Fashionable Crop Tops

You want a fresh look without buying new clothes. Your old tees can become stylish crop tops with a few quick tweaks. Here is why this works. It saves money and cuts waste, two smart moves for your closet. Next steps are simple, fast, and fun.
What you need
– Sharp fabric scissors
– A ruler or chalk for neat lines
– A willing tee and a little patience
Step by Step
1) Try it on and decide length. Put the shirt on and pick where the crop should hit. A common goal is 2 to 4 inches below the bottom edge or just above the belly button. Mark the line with chalk.
2) Cut and shape. Cut straight across for a clean look or gently curve the hem for a softer edge. If the tee is thick, straight cuts are easiest.
3) Fray the edge. Gently pull threads from the cut edge with fingers or tweezers. Keep pulling until the hem looks naturally worn.
4) Add a side knot (optional). Grab a small section near the side seam, twist, and tie a loose knot. Trim any excess fabric for a tidy finish.
How to style it
– Pair with high-waisted jeans or a skirt for a clean silhouette.
– Layer over a tank top to add depth at your neckline.
– Finish with a bold necklace or a lightweight scarf for a quick personality boost.
Care and notes
– Wash in cold water and air dry to keep the fray intact.
– If the fabric shows too much wear, trim and re-fray a little after wash.
Next steps: try a few tees of different weights to see what feels best. With each cut, you gain a unique piece you actually want to wear.
6. Reinvent Old Tees into Fashionable Crop Tops
Editor’s Choice

Fabric Scissors Professional, 8″ Heavy Duty Sewing Scissor for Fabric Cu…

FIVEIZERO 4Pcs Tailors Chalk, Triangle Sewing Chalk for Fabric, Fabric M…

Pefei Tweezers Set – Professional Stainless Steel Tweezers for Eyebrows …
7. Use Fashion Tape for Instant Fixes
Wardrobe slips happen. A strap may peek out. A hem can rise when you sit. A plunging neckline can gape. Fashion tape is your quick fix for these moments. This double-sided tape grips fabric and skin, giving a smooth, secure look in seconds. It’s tiny enough to tuck into a clutch and strong enough to last through a busy night.
Here is how to use it well:
– Test first. Try a small patch on a seam or fabric to check color and adhesion.
– Prep the spot. Clean away oils or sweat so the tape sticks better.
– Cut a short strip. A little piece works best. Press it on and hold for 8–10 seconds.
– Fix straps and gaps. Put tape along edges or the strap line to keep things in place.
– Tuck hems. Place a hidden strip inside the hem to keep it flat.
– Mind the skin. If your skin is sensitive, use skin-safe tape designed for that area.
Keep a roll in your bag or makeup kit for emergencies. It also helps stop hems from lifting when you bend or sit.
Next steps: practice at home so you feel confident before any big event.
7. Use Fashion Tape for Instant Fixes
Editor’s Choice

8. Transform Old Jeans into Cut-offs
8. Turn Old Jeans into Cute Cut-Off Shorts
You have jeans that never leave the drawer. They can give you fresh summer shorts in a few easy moves.
First decide your length. Try mid-thigh for casual days or a touch longer for busy weekends. Mark the spot with chalk so you cut in the right place.
Next, cut with denim scissors for a straight edge. A clean line makes the rest simpler.
Edge it your way. For a classic look, fray the edge after cutting. If you want a polished feel, fold the edge and press with a hot iron. A light pinch of fabric between thumb and forefinger helps you create even fray.
Add style if you like. Distress small rips near the pockets or thighs for a laid-back vibe. Stitch on patches or embroidery for a unique touch. You can sew on a tiny patch, a spiral, or a stripe of color.
Care tips. Wash cold to keep color and fray intact. Air dry to avoid extra shrink.
Pro tips for success:
– Use denim scissors for clean cuts.
– Start longer and trim again after trying them on.
– Personalize with patches or embroidery for a one-of-a-kind look.
This eco-friendly project can refresh your closet and your mood.
Unlock your creativity! Transform those old jeans into chic cut-offs and give your closet a stylish refresh – your summer wardrobe will thank you!
8. Transform Old Jeans into Cut-offs
Editor’s Choice

LIVINGO Premium Tailor Scissors Heavy Duty Multi-Purpose Titanium Coatin…

BLACK+DECKER Easy Steam Compact Iron for Clothes, Automatic Shutoff, Non…

Coquimbo Sewing Kit Gifts for Mom Grandma Women Men Adults Kids Teen Beg…
You might also like


9. Create Your Own Distressed Denim

Want your jeans to look fresh and a bit edgy without buying new ones? Distressed denim is cheaper and lets you add a personal touch. With a few simple tools, you can DIY the worn look. Here’s how to do it.
1. Pick the jeans. Start with sturdy denim you won’t mind changing. Dark or light wash both work. Mark spots to wear with chalk: knees, pockets, and cuffs.
2. Gather basics. You need sandpaper, scissors, and tweezers. If you don’t have them, a nail file or rough sponge can work.
3. Fade with sandpaper. Rub the marked areas in small, circular motions. Stop when you see light wear. Aim for a soft, natural fade.
4. Add tiny rips. Make a small cut about a quarter inch wide. Gently pull threads with tweezers to fray the edge.
5. Finish with edge fray. Rub the cut edges to loosen more threads and blur the line between old and new wear.
6. Test first. Try this on an old pair to learn your grip and pressure.
7. Care tips. Turn inside out, wash gently, and air dry. This keeps the look while saving the fabric.
Next steps: start small, then scale up to your favorites. Pair distressed denim with a clean tee to balance the style.
9. Create Your Own Distressed Denim
Editor’s Choice

54PCS Premium Micro Sander, Detail & Mini Sander Block – Precision Small…

3PCS Precision Tweezers Set, Upgraded Anti-Static Stainless Steel of Twe…

Fiskars RazorEdge Fabric Scissors – 8″ Heavy Duty Fabric Shears with Sof…
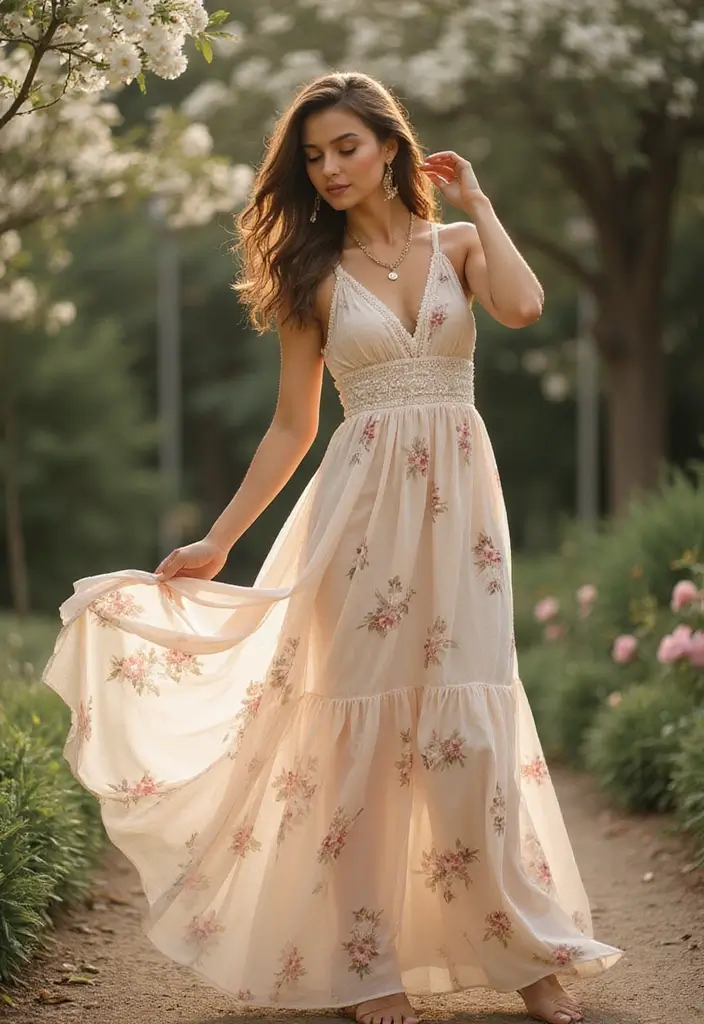
10. Layering for Added Style

You want outfits that feel new without buying more. Layering helps. Start with a simple base you like. A comfy tee with jeans works, or a dress you feel good in. Then add pieces that shift the mood and keep you comfy all day.
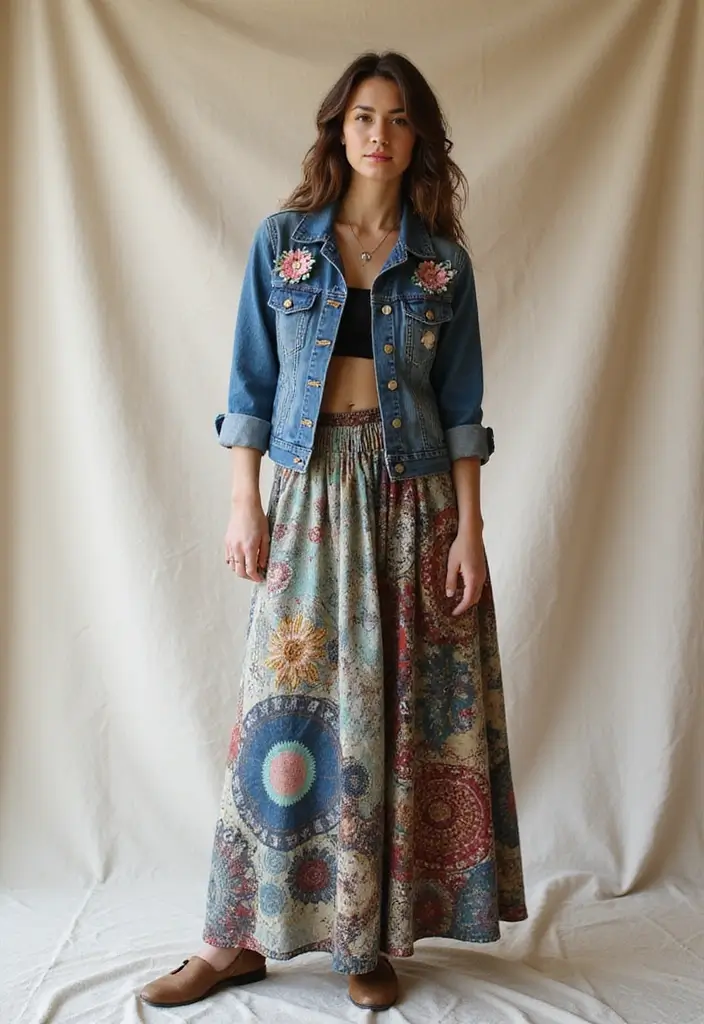
Layering works in every season. A soft cardigan over a dress reads polished. A denim jacket over a tee adds edge. The trick is balance: touch, color, and length.
If you feel stuck, start small. Add one extra piece and test it in two outfits. You can do this today.
Here are practical layering tips:
– Tip 1: Mix fabrics for contrast. A knit top over a smooth cotton dress adds depth you can see and feel.
– Tip 2: Use colors that go well together. Neutrals like cream and taupe pair with soft blues or blush.
– Tip 3: Play with lengths. Short tops with long cardigans create clean lines the eye follows.
– Tip 4: Let one layer peek out. A longer tee under a cropped sweater adds interest.
– Tip 5: Layer with purpose. Choose lightweight pieces for spring and fall, then add a heavier layer when it turns cool.
With these ideas you can build many outfits from a few key pieces. Your closet will thank you.
10. Layering for Added Style
Editor’s Choice

Women’s Lightweight V-Neck Cardigan Sweater (Available in Plus Size)

Men’s Spiders Graphic Sweaters Gothic Punk Sweater Oversized Unisex Knit…
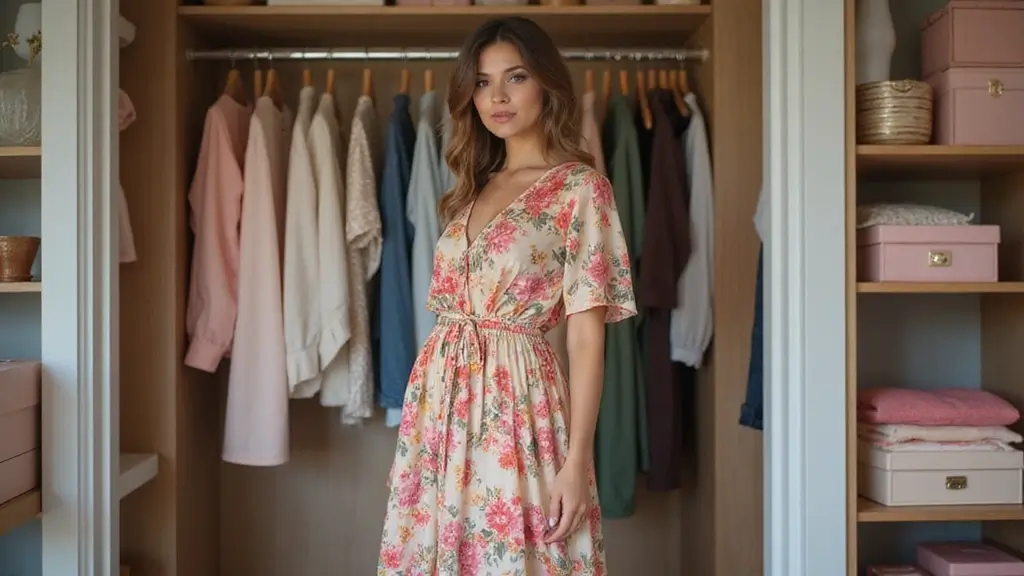
11. Organize Your Closet by Color

If you hate digging for the right shirt, color organizing can save you time. A neat closet also feels calmer in the morning. You will see outfits come together in seconds.
Here is why color order works:
– Pick a color plan that fits you. Try a smooth gradient from light to dark or group similar hues like blues.
– You will spot what you own at a glance. Neutrals stay with neutrals, brights with brights, and darks with darks.
Next steps to set it up:
– Sort by color family, then arrange items inside each group. Keep tops, jackets, and bottoms in their own areas.
– Use uniform hangers. Slim plastic or wood hangers create a clean line.
– Add dividers for small items. Scarves, belts, and accessories stay tidy in their spots.
Maintenance that sticks:
– Declutter each season. Donate what you did not wear in the past year.
– Rotate seasonal pieces. When a color fades, swap it in.
– Care for fabrics. Wash colors with like colors to keep lines crisp.
With a color system, getting dressed becomes quick and easy. You’ll feel creative and in control all day.
Organizing your closet by color isn’t just pretty—it’s practical! A calm, color-coordinated space can save you time and help you create stunning outfits in seconds. Let your wardrobe work for you!
11. Organize Your Closet by Color
Editor’s Choice

Amazon Basics Slim, Velvet, Non-Slip Suit Clothes Hangers, Pack of 50, B…

Lifewit 5 Pack Drawer Dividers 4″ High, 11-17″ Adjustable Dresser Drawer…

Nicunom 6 Pack Small Cubby Bins Storage Bins with Lids, 5 Qt Plastic Sto…
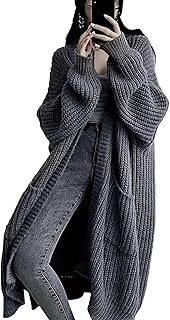
12. Layering with a Long Cardigan

Why a long cardigan helps
You want a simple way to stay warm and look put together. A long cardigan does that in one piece. It drapes over most outfits and adds cozy flair without adding bulk. It can turn a plain jeans-and-tee into a chic moment, or soften a dress with easy movement.
Easy ways to wear it
– Pair a long cardigan with fitted jeans for a slim, easy silhouette. This combo stays comfy all day.
– Drape it over a midi dress to create a breezy, layered vibe.
– Belt it at the waist to add shape and keep the fabric from swallowing your frame.
Smart styling ideas
– Try a monochrome base under the cardigan for a clean, cohesive look.
– Mix in prints or textures under the layer for contrast.
– Pick bold colors if you want the cardigan to steal the show, not the rest of your outfit.
Practical tips
– Choose a knit that falls just below the knee for flexibility across seasons.
– Light knits work in spring and fall; heavier knits feel cozy in winter.
– Roll sleeves or push them up to show a cuff and keep the look modern.
Next steps
Try these ideas in real outfits this week. Notice what feels most you, then tweak length, belt position, and color.
12. Layering with a Long Cardigan
Editor’s Choice
Womens Long Cardigan Sweaters Open Front Oversized Duster with Pocket fo…

Women’s Lightweight Draped Open Front Cropped Cardigan Long Sleeve Sweat…

Women’s Lightweight Open-Front Cardigan Sweater (Available in Plus Size)
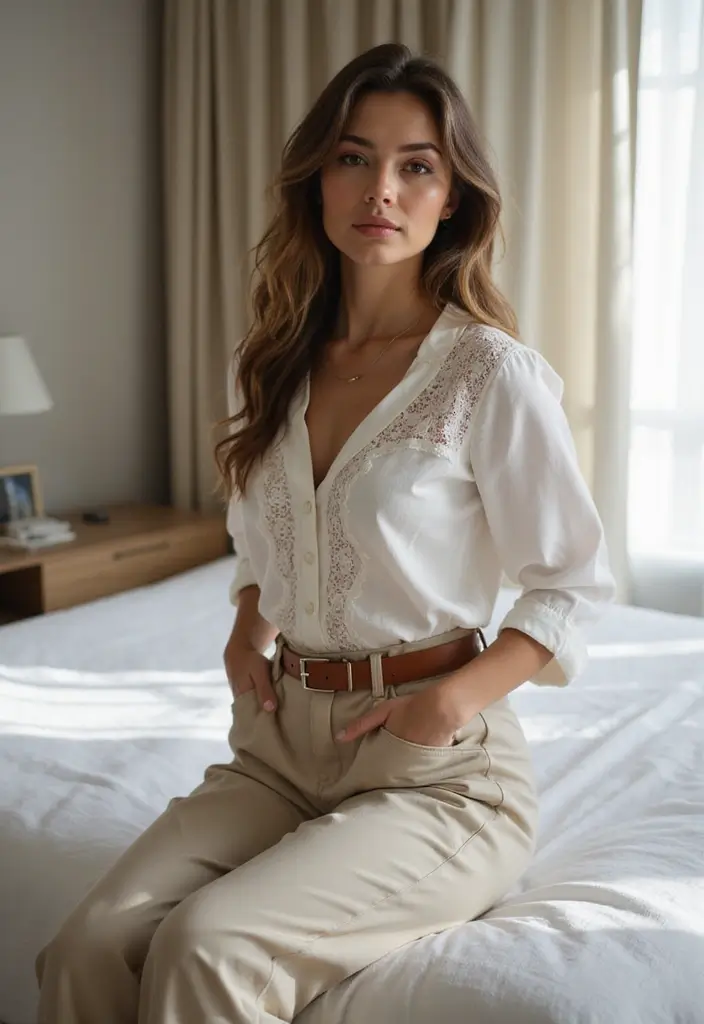
13. The Switchable Belt
Staring at a closet full of clothes but no clear way to mix them can stall your morning. A swappable or interchangeable belt can flip the mood of an outfit in seconds. It lets you swap buckles, straps, and textures. Look for belts with bold buckles, woven straps, or a metallic shine.
Here is why this works.
One belt goes far. Use it with different dresses for varied looks. A flash of gold or a bold weave can make a simple dress feel new.
Two or three belts are enough. Let the belt cinch in oversized sweaters to add shape. It creates a clean line at the waist.
Pair with high-waisted jeans for an effortless chic finish. The belt pulls together top, bottom, and shoes.
Try different textures. A woven belt adds casual charm with denim or a tee. A metallic belt brings a touch of shine to a basic dress. A leather belt with a chunky buckle anchors a smart coat.
Next steps. Pick three go-to outfits and test one swappable belt on each. If you own more than one belt, store them together in a small flat drawer so buckles do not snag.
Quick care. Choose mid-width styles in black, tan, or metallic so they fit many outfits. Wipe clean with a damp cloth and store flat. Avoid bending the buckle.
13. The Switchable Belt
Editor’s Choice

Zitahli Ratchet Belt for Men – 2 Packs Leather Mens belt For Gift Men Dr…

Braided Belt Stretch Belt for Men and Women Multicolored Woven Golf Belt…

Classic antique replacement belt buckles for men and women (Vintage Silv…
14. Refresh Shoes with DIY Techniques
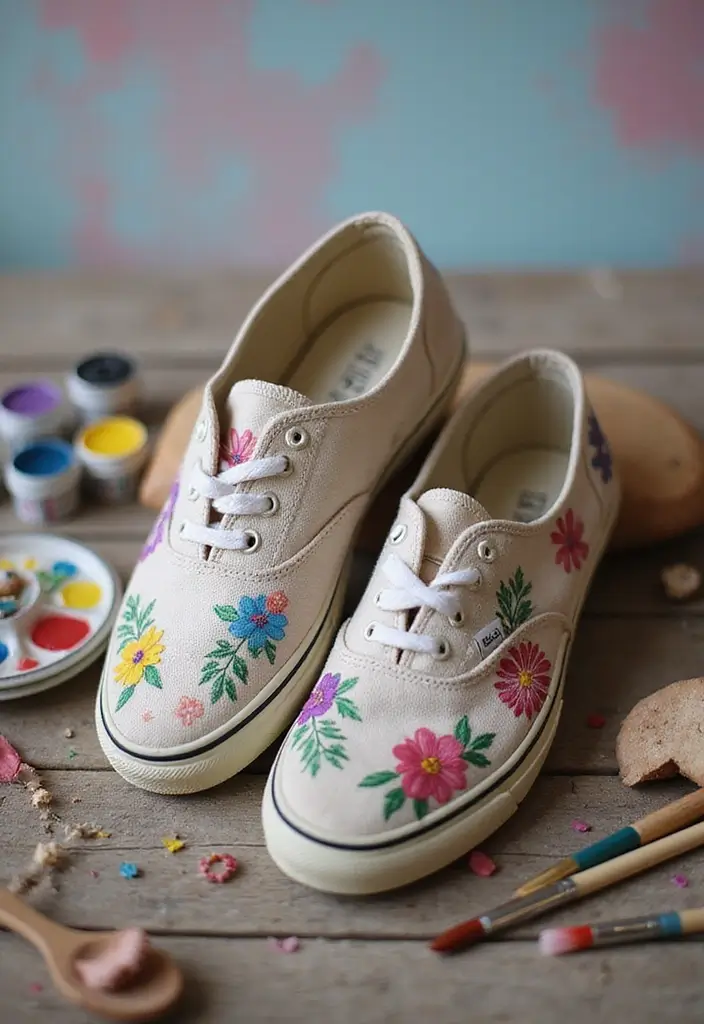
Your shoes look tired. You can fix that at home. A small refresh can save money and show your style.
– 1. Clean and prep Clean your shoes well. Dirt blocks paint and glue. Let them dry before you start. Wipe the soles too.
– 2. Fabric shoes quick fix Pick non toxic fabric paint or markers. Apply thin coats and let each dry. Add a second layer for color depth, then seal with a clear finish. Let it cure fully before wearing.
– 3. Leather option For leather, scuff lightly for texture or buff with shoe polish for shine. Wipe away dust and let the surface settle. If you want a new look, pick a shade you can wear often.
– 4. Add simple embellishments Stick on patches or small studs. Glue with a strong adhesive made for fabric or leather. Keep embellishments flat so you can walk without snagging. Place items where you walk most.
– 5. Ribbons and wraps Tie a ribbon around the ankle or lace area for a chic twist. Secure with a neat knot and trim extra ends. Tuck ends into the laces for a neat look.
– 6. Safety first Use non toxic materials. Test colors on a hidden spot first. Use a test shoe or fabric swatch.
– 7. Care and wear Let paint cure fully before wearing. Clean gently after use to protect the finish. Store with a poly bag to keep dust off.
Next steps: pick one idea and try it this week today.
14. Refresh Shoes with DIY Techniques
Editor’s Choice

Shuttle Art Fabric Paint, 18 Colors Permanent Soft Fabric Paint in Bottl…

Mink Oil for Leather Boots, Leather Conditioner and Cleaner 3.52 oz-All-…

Fabric Glue Permanent, 60 ML Washable Clear Clothing Glue, Super Fabric …
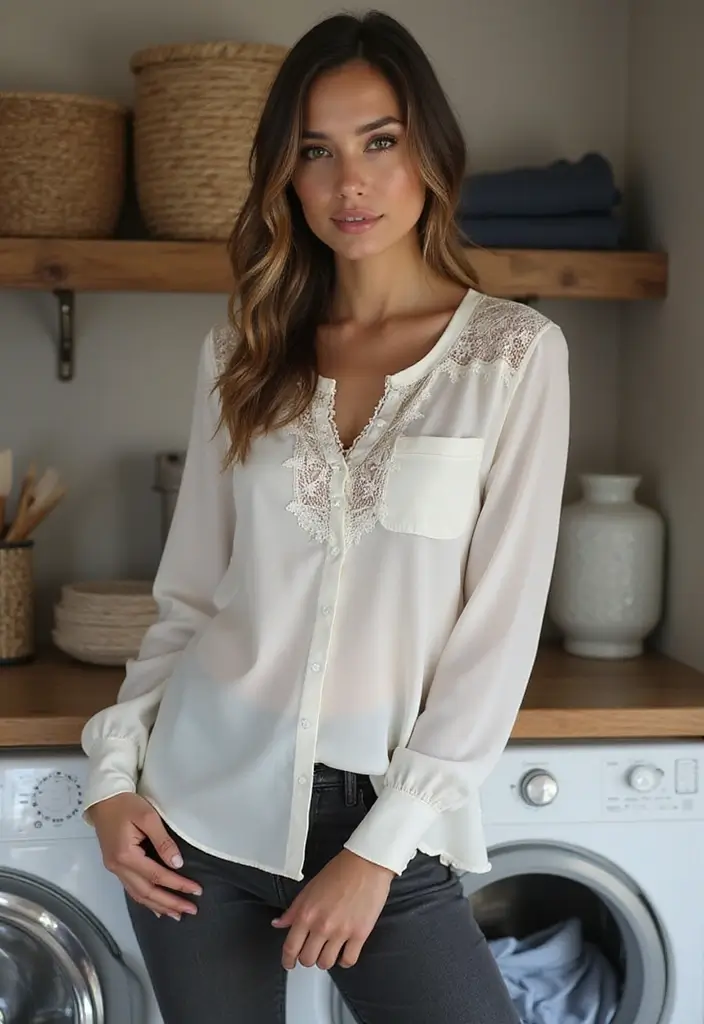
15. Repurpose a Button-Down Shirt

You want more wear from a button-down shirt. It can do more than sit in your closet. With a few quick tweaks, you gain several new looks from one piece.
1) Off-the-shoulder top
Unbutton the top two buttons. Fold the collar down to make a straight neckline. Slide the sleeves off your shoulders. Let the shirt sit loose or tuck a side seam for shape. Pair with high-rise jeans or a skirt. This works well with cotton, chambray, or linen blends.
2) Waist-tie over a dress
Put the shirt on over a simple dress. Cinch the fabric at your waist and tie in front or at the side. Let the hem peek below the dress for color and texture. Add a belt or a light necklace for extra polish.
3) Light jacket over a tee
Button the shirt halfway and layer it over a tank or tee. Roll the sleeves to the elbow. Keep it open at the bottom for a relaxed line. Choose a neutral shade that goes with many outfits.
4) Cropped top or knot at the hem
Tie a small knot at the front hem to create a crop look. If you want more coverage, tuck the knot toward the back. Pair with shorts, jeans, or a long skirt.
These ideas are quick to try. Next steps: grab a shirt, pick a look, and try it today.
15. Repurpose a Button-Down Shirt
Editor’s Choice

Men’s Linen Short Sleeve Button Down Shirt Casual Cuban Collar Summer Be…

Men’s Lightweight Bomber Jacket Causal Fashion Stylish Windbreaker Light…
You Might Also Like
16. Use a Wide-Tooth Comb to Unclog Zippers

Stuck zippers slow you down. You want a fix that is easy and safe. A wide-tooth comb can rescue a zipper fast.
Here is why this trick works: the comb lifts loose fabric from the teeth and frees the slider.
Next steps:
– Step 1: Hold the zipper steady and slide the comb along the teeth to push out any fabric.
– Step 2: Move slowly and brush from both sides to loosen snagged threads.
– Step 3: Apply a small amount of wax or soap to the teeth so the slider can glide.
– Step 4: Check that nothing is left between the teeth before you zip.
– Step 5: If it still sticks, try a tiny dab of lubricant and wipe away any excess.
Two quick reminders: never yank a stubborn zipper and avoid forcing it if the track looks bent or torn.
With this simple hack, you save time and spare the moment. It works on jackets, jeans, bags, and tents with metal or plastic teeth. That means you can fix issues on the go, at home, or while traveling.
Keep a small brush in your bag for fast maintenance.
16. Use a Wide-Tooth Comb to Unclog Zippers
Editor’s Choice

Paul Mitchell Detangler Comb, Wide Tooth Comb Detangles Wet or Dry Hair

Otter Wax Fabric Wax Bar | Regular Bar | Durable Rain Protection | Made …

STAR BRITE Snap & Zipper Lubricant – Clear, Non-staining for Clothes, Je…
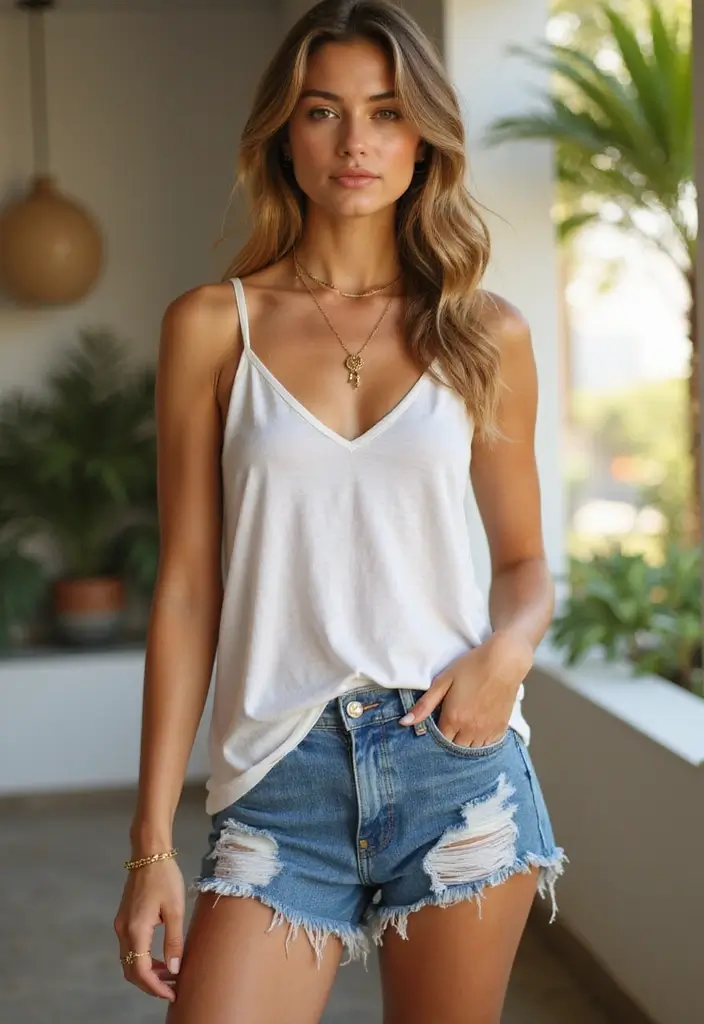
17. The Power of Accessories
The Power of Accessories
If you want your outfits to pop, start with the right accessories. A few small pieces can change the whole mood.
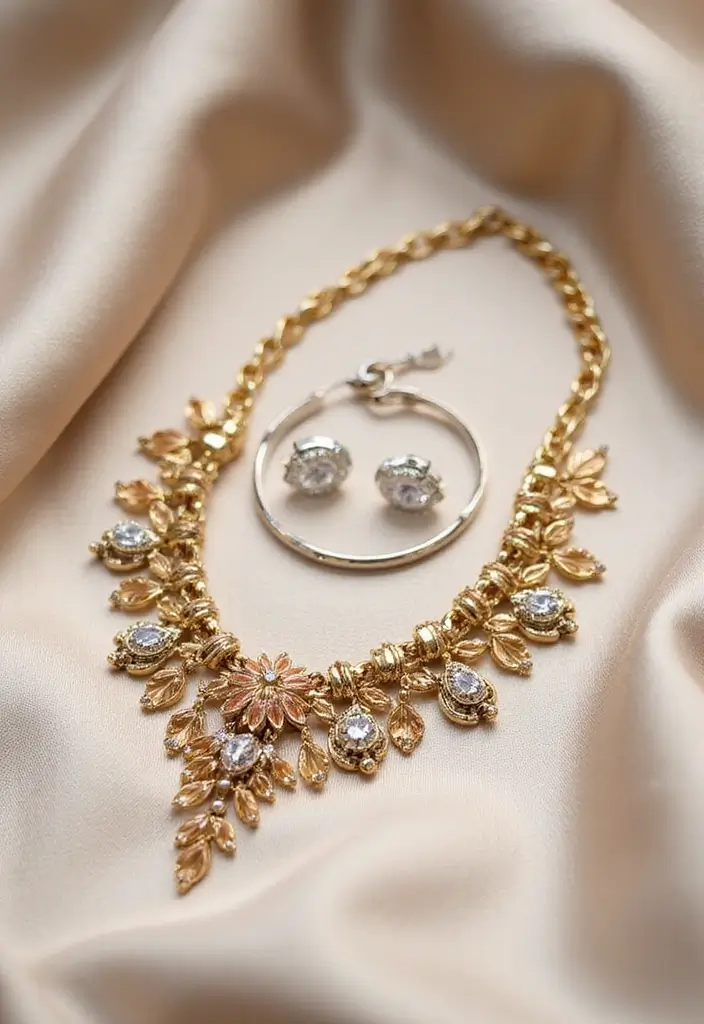
– Start with an anchor piece. Choose one item that grabs attention, like a chunky statement necklace or bold earrings, and let it lead the look.
– Layer with intention. Add a couple of delicate necklaces at different lengths or a stack of bracelets to create depth.
– Balance with your clothes. If your top or dress is busy, keep jewelry simple. If your clothes are plain, you can go a bit louder.
– Mix metal tones. Gold and silver can live together. A touch of rose gold also blends nicely in most closets.
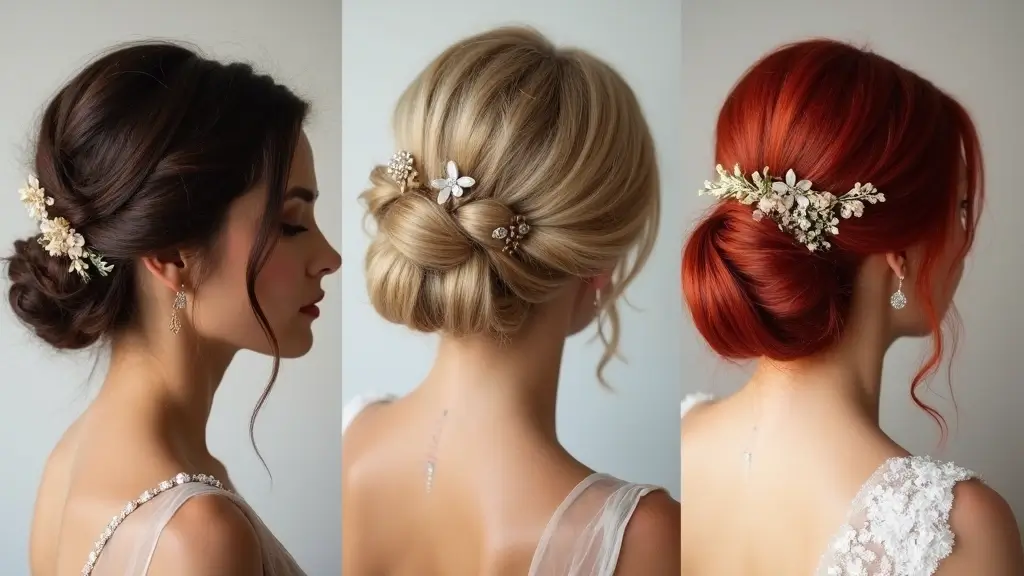
– Consider your hair. Your hairstyle changes how accessories read. Up styles show earrings. Loose hair softens layered pieces.
Next steps: try these practical ways to start.
– Pair a single statement piece with a simple tee and dark jeans.
– Add a second necklace at a different length for contrast.
– Use a bold belt or brooch to refresh a classic outfit on special days.
With just a few accessories, you refresh your wardrobe without buying more. You gain confidence and faster outfit choices.
17. The Power of Accessories
Editor’s Choice

Bib Statement Necklace Colorful Glass Crystal Collar Choker Necklace for…

Layered Gold Necklaces for Women Trendy, 3 Pcs 14K Gold Plated Choker Pa…

Women’s Skinny Leather Belt with Adjustable Silver Turn-Lock Buckle – Id…
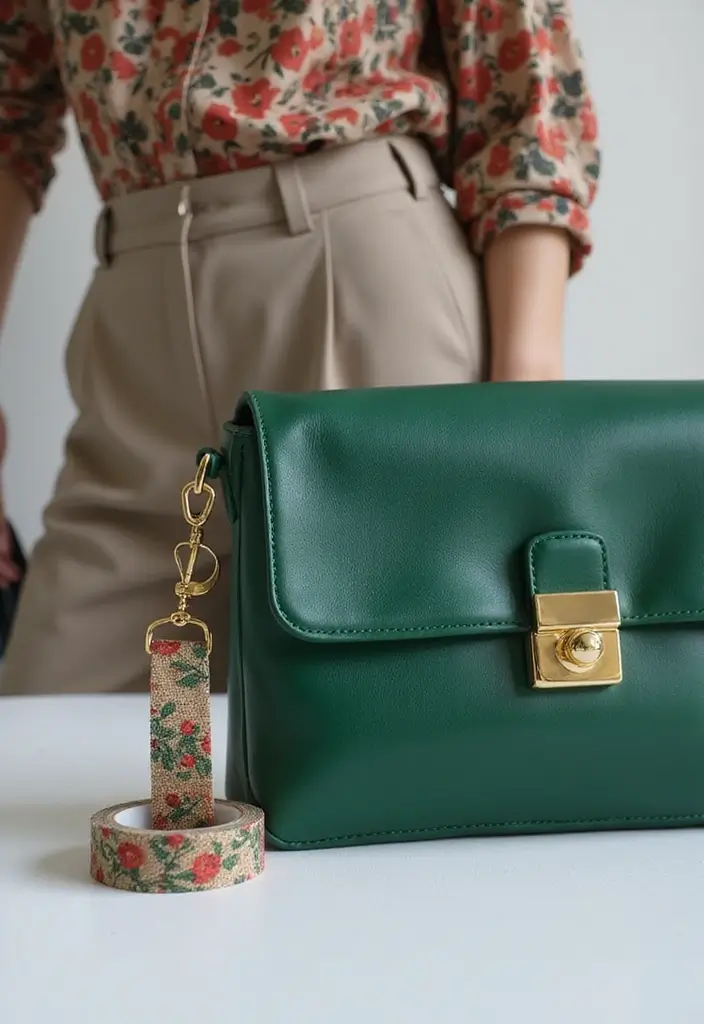
18. Upcycle Old Accessories into New Pieces
Is your closet full of old accessories and your style feels stuck? You can turn those pieces into fresh treasures. Upcycling saves money and gives you a unique look you can wear every day.
– Turn an old necklace into a bracelet. Measure its length, add a clasp, and wrap once or twice for a bold cuff.
– Make a new statement by pairing beads from different pieces. Mix metals and colors for contrast.
– Freshen a plain chain with charms. A few pendants shift its mood from plain to playful.
How to start upcycling your accessories
– Gather what you no longer wear. Look for broken parts, beads, clasps, and scraps.
– Sketch a quick idea. A simple plan helps you choose.
– Choose safe tools. Small pliers, jump rings, and glue do the job.
– If an item is broken beyond repair, repurpose the material.
– Test before you seal. Lay out the pieces, then attach.
– Be sure to adjust fit. Try it on and tweak length or placement as needed.
More quick ideas to try today
– Fabric scraps become hair clips or a headband.
– Unused charms turn into a keychain or bag charm.
– Beads from broken sets reassemble into new earrings.
This approach cuts waste and keeps your wardrobe fresh. You express your style with pieces you already own and save money.
18. Upcycle Old Accessories into New Pieces
Editor’s Choice

4Pcs Jewelry Pliers Set Jewelry Making Pliers Tools Kit Include Jewelry …
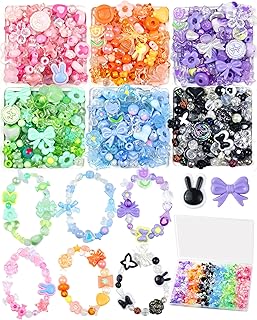
450PCS FIVEIZERO Assorted Acrylic Beads for Bracelet Making, Flower Star…

Aleene’s Clear Gel Tacky Glue for Crafts, Nontoxic, Applies and Dries Cl…
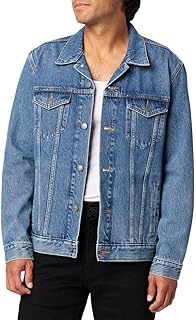
19. Create a Capsule Wardrobe

You want a closet that works every day. A capsule wardrobe helps you get there. It uses a small set of versatile pieces you can mix and match. You save time and feel more in control. You save money too. Here is why this plan fits busy mornings.
Base colors form the backbone. Start with two to three neutrals that pair with most things. Add one accent color for variety. Navy, black, gray, and beige stay easy to mix.
Quality over quantity shows in every stitch. Look for sturdy seams and fabrics that feel right. Test items by tugging the hem and moving the sleeves. A few well made pieces beat many worn out outfits.
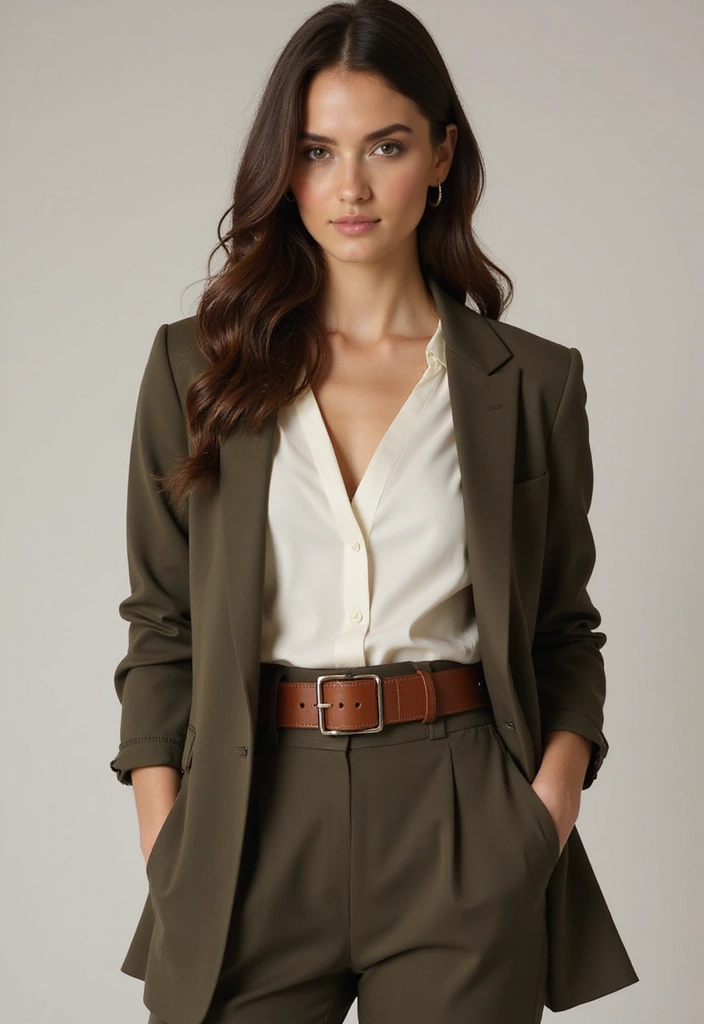
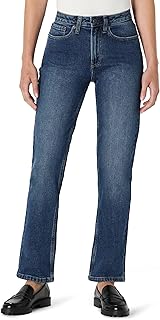
Let’s break it down with core pieces you can rely on.
– These dark jeans fit well.
– This white tee stays crisp.
– This neutral blazer adds polish.
– These versatile shoes cover most looks.
Fit and fabric matter. Try on with real moves. Move, bend, and sit. Check seams and comfort. Keep it practical and fun.
Maintain and refresh. Rotate out seasonal pieces. Store off-season garments to keep shape. When you notice wear, swap in something new. Tidy your closet weekly.
Next steps. Plan a week of outfits using only your capsule pieces. Start with the colors you chose and build from there. You’ll see it pay off.
19. Create a Capsule Wardrobe
Editor’s Choice


Men’s Undershirts, Moisture Wicking & Tag Free, Short Sleeve Crew T-Shirts
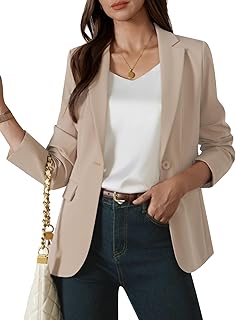
Womens One Button Blazer Casual Open Front Long Sleeve Suit Jackets Busi…
20. DIY Your Own Jewelry Organizer
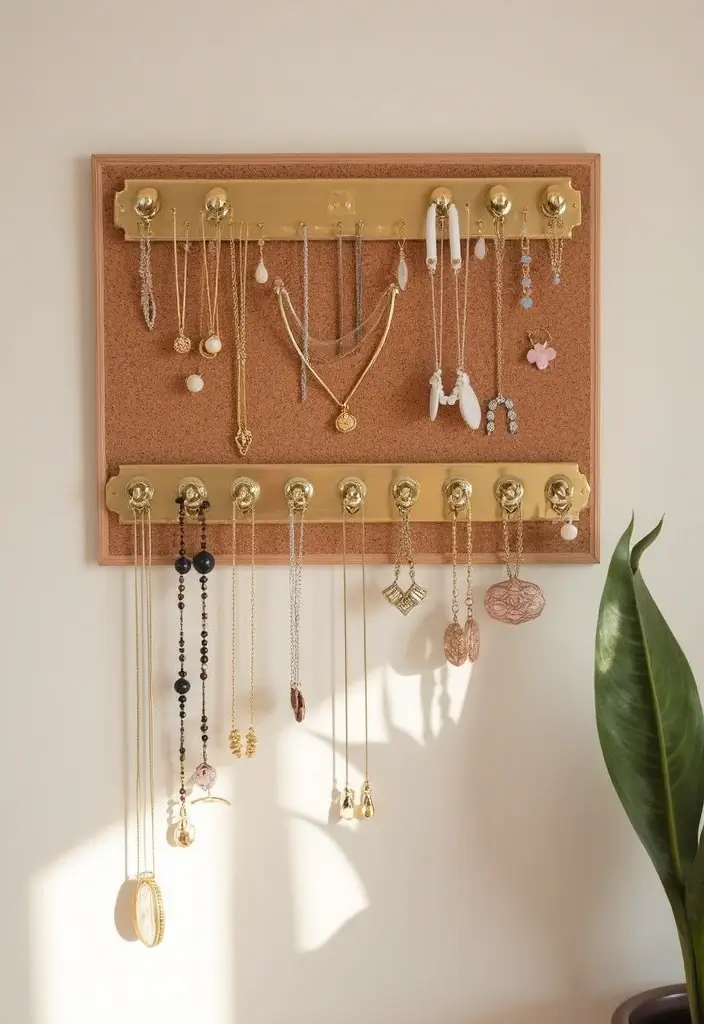
Struggling to keep your jewelry from tangling and sliding off your dresser? A DIY jewelry organizer can fix that fast and still look great in your room.
Choose a base first. A corkboard on the wall is quiet and easy to reach. A shallow decorative tray sits nicely on a dresser. You can also use a small wooden frame with a photo backing as a mini organizer.
Add storage tools. Install tiny hooks or thumbtacks to hold necklaces. Use a few small dishes or a jewelry dish to keep rings and earrings tidy. Let a soft lining protect delicate pieces. Keep cords and chains from tangling by laying them flat when you finish.
Make it stylish. Here is why this works: it is simple, it shows your pieces, and it doubles as decor. Try these ideas to inspire you:
– Repurpose glass containers for unique displays.
– Paint the organizer to match your room’s vibe.
– Add natural touches like wood or stone for a chic look.
Here are practical steps you can follow. Next steps:
1) Gather a base, a few hooks, and tiny dishes.
2) Mount or place the base where you can reach it easily.
3) Arrange items by type or length, then tweak as your collection grows.
4) Keep it neat with a quick weekly tidy.
20. DIY Your Own Jewelry Organizer
Editor’s Choice

ProCase Stackable Jewelry Organizer Trays for Drawers, Jewelry Drawer In…

Pinzoveco Hanging Jewelry Organizer Wall Mounted With Wall Jewelry Organ…

Lotus Leaf Shape Decorative Ring Tray, Small Key Bowl, Ceramic Trinket T…
Conclusion
Fashion should be fun and expressive! With these handy clothing hacks, you’re now equipped to maximize your wardrobe while showcasing your unique style.
Embrace creativity and don’t shy away from experimenting with different outfits and accessories. The next time you feel stumped about what to wear, remember these tricks, and let your closet shine!
Note: We aim to provide accurate product links, but some may occasionally expire or become unavailable. If this happens, please search directly on Amazon for the product or a suitable alternative.
This post contains Amazon affiliate links, meaning I may earn a small commission if you purchase through my links, at no extra cost to you.
Frequently Asked Questions
What are some quick clothing hacks I can try today?
If you’re looking for quick clothing hacks to elevate your style, try the Perfect Tuck Method for a polished look in seconds. You can also turn a simple scarf into a chic top or de-wrinkle your clothes with ice cubes while they dry. These hacks will not only save you time but also help you create stylish outfits effortlessly!
How can I organize my wardrobe effectively?
Organizing your wardrobe by color can be a game-changer! It not only makes finding outfits easier but also creates a visually appealing space. Additionally, consider creating a capsule wardrobe with a few versatile pieces you can mix and match. This approach saves time and reduces decision fatigue in the mornings!
What are some sustainable clothing hacks I can use?
Sustainability is key in fashion! You can upcycle old tees into fashionable crop tops or transform worn-out jeans into cute cut-off shorts. These hacks not only refresh your wardrobe but also reduce waste, making your fashion choices more eco-friendly. Plus, you’ll be showcasing your unique style with personalized pieces!
How can I make my old clothes feel new again?
Revamping your old clothes can be fun and rewarding! Try creating your own distressed denim look or repurposing a button-down shirt into an off-the-shoulder top. Both hacks breathe new life into your wardrobe and allow you to express your creativity without spending a dime on new items!
What accessories can enhance my outfits?
Accessories can truly elevate your outfits! Start with an anchor piece like a statement necklace or a bold belt to transform your look. You can also use fashion tape for quick fixes to prevent wardrobe malfunctions. Remember, the right accessories can add flair and personality to any ensemble, making your style pop effortlessly!
Related Topics
clothing hacks
style tips
wardrobe organization
fashion tricks
easy fashion
capsule wardrobe
DIY fashion
quick fixes
sustainable style
accessory hacks
beginner friendly
upcycled fashion